Pages

Monday, March 31, 2014

Baby Dress from a T-shirt


This is possibly my new favorite dress for my baby girl. It is just so cuddly!


I started by cutting off the sleeves and then along the shoulder seam and side seams. 


I loosely measured how much a baby onsie overlaps. 


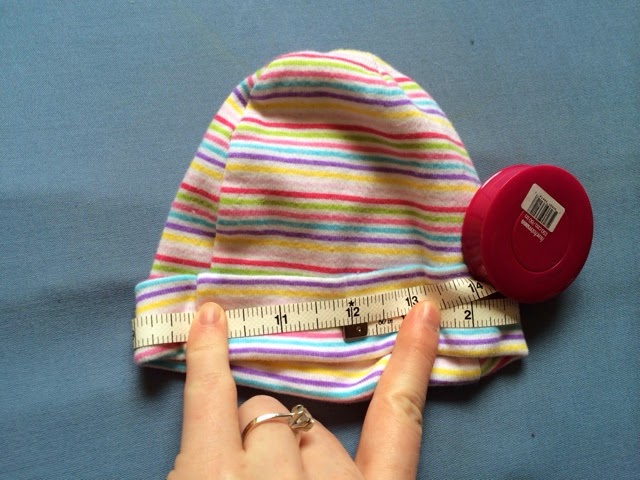
I also loosely measured how long across it was. I semi used this measurement but adjusted as I went on. 


I pinned approximately how long I needed. 


Using the onsie as reference I drew out a basic dress pattern. ( which I later altered)


I folded it in half to cut. 


I used the front piece as a template for cutting the back. 


I overlapped the neck pieces by about 2.5 inches and pinned them and trimmed them since they angled a bit. 


I used the sleeve from the t-shirt for the sleeve and measured width from the onsie. 


I drew with washable marker and make sure the opening would fit a baby hand. Of course I made it about a half inch larger than I thought I needed for the seam allowance. 


I cut both sleeves. And trimmed the edges. 


I put right sides together starting from the middle and pinned. Then sewed them together using a zig-zag stitch. 


After sewing both sleeves I turned it inside out matching front to back and adjusted it as needed. 


Of course my original pattern needed some tweaking.


I rounded off the skirt. Sewed down the sides with the zig-zag stitch again, and then hemmed the bottom edge turning it under once since it's a knit fabric and doesn't really fray. 


I of course then tested it on the baby. She loves it. Or at least I do. 

Wednesday, March 26, 2014

DIY headband for you or baby


What you will need:

Old pair of colorful tights
Needle 
Semi-matching thread to tights
Ribbon or lace to accent

Get ready for more detail than you need. Hopefully a real beginner can catch on.


Measure either a hat or your head. (If you use your own head cut the tights 2-3 inches shorter than the measurement since the material is very stretchy)


Cut a length of one of the legs plus an inch for overlap later. 


Please double your thread. You need a little thread strength with this. 


Tuck the smaller end inside the larger (if it's not straight).


This isn't totally necessary, but I like to hide the original knot inbetween the layers. 


I also like to circle back through the loop so the original knot doesn't get pulled through the knit material. 


Dolphin stitch up and down with large stitches  through all 4 layers of material. 


Pull the thread tight scrunching the material together then thread the needle back  through the scrunch. 


Like so. Loop it back the other way a couple times. 


I like to wrap it tight around with the thread a couple times. 


On the back side (whichever side looks worse) hold thread tight, pick up some material with the needle and do a loop knot a couple times in the same place.  (Before you pull the stitch all the way through you put the needle back through the loop then pull tight creating a knot)


Pick some ribbon or lace and cut a small piece that can over lap a little on the back. 


I didn't even cut my thread I just went up through the two parts of the lace. Then I did some dolphin stitches around making sure to pick up some tights material with the lace. Then I tied it off to the side somewhat under the lace. 


Finito.


Comfy enough to sleep in.

Tuesday, March 25, 2014

My First Baby Dress


Now before you get all excited about my sweet skills, this is the story of taking what's already cute and cutting it down to baby size, not working from scratch.


First I started with a perfectly good dress. 


Next I take a perfectly good baby dress and measure and then measure on the big dress starting at the perfectly good waistline.


Next, repeat for the length of skirt also starting at the waistline and mark. 


And finally take measurements for the waist and add a couple inches for leighway. (I'd add three or four if I made it again for the waist measurement)


When you cut make sure to cut an inch or two larger than you need to turn under seams and to allow for a less stretchy fabric/mistakes.


After cutting it down I measured again for about where I'd need the arm holes to start going down.


Then I made a cut for the arms (again leaving room to turn under).


I used a seam ripper and pulled out the little loops so I didn't have to make my own.

I also salvaged the straps.


I forgot about the pockets and sewed a straight line down them then trimmed the pocket off.


Then I hemmed the bottom of the dress after ironing.


This was a kinda nice dress so I was able to iron under the edges then tuck the straps and loops in for one sweep through sewing across the top.


I pinned them in and sewed close to the edge.


Here is the part I messed up a bit. I sewed the back seam, but had forgotten to make sure the sides were the same. Also I wish I'd made the elastic longer than I did. 


I'm new at the elastic thing. I used 4 inches and stretched it to six when I sewed it on. I should have used more and left excess fabric on the waist so the dress could last a little longer for a growing baby. The way I did it left little extra room and the end result was a little smaller than I'd hoped, but it does fit baby girl now so that's fun.

Poor thing had a clogged tear duct but she is still so sweet.

Annnd the finished back.