Pages

Tuesday, November 13, 2012

Jenna and Taylor Couples Portrait

This will be a short post, just enough to explain this portrait.

Jenna asked me to make her a couples portrait for her wedding and I was so excited to do it!

I chose their clothing by stalking them a bit on facebook. I had never met Taylor before the wedding so I had to do more research for him. I asked Jenna what colors they were thinking of using and used that as an starting point.

I am told Taylor was very pleased and wondered at how I knew what he would wear *heh heh*

This was a bit more adventurous of an undertaking for me since I didn't ask before I decided to splatter them all in paint, but I took a little artistic license and I think it worked better than if I'd asked them exactly what they want.
Just look at that adorable couple! I was so happy to be part of your big day and so excited for you two!

p.s. See that hat Taylor is wearing??!!

Tuesday, October 16, 2012

DIY: Shoe Box into a Vintage Suit Case


So I have had a to-do list in my head of the things I wanted to make that I have found on Pinterest.  This one has been there for a bit, but today I realized I had cleared out a shoe box and was about to throw it away, BUT WAIT! I need that!
So I stripped the shoe box of the wrapping paper that once adorned it and I used cheap acrylic paint to coat the box.....once, twice, and three times in a few spots.
After the paint finally dried, I used a thin marker/felt tip pen/sharpie to draw my lines. I used a ruler for some of the straight lines but the majority I did freehand to achieve that handmade look. (excuse my poor photography)

 I simply copied the patterns from the boxes I saw....which you can check out on my DIY pinterest board.

HINT: when drawing your lines, do put the lid on to mark where the designs on the bottom should end/begin, then take them apart and work on the separately. It is a hassle to try and work with the box all together... or at least I think it is.


So now my bedroom has a new box to hold all my clutter from on my dresser. I may make more for my  arts and crafts storage....maybe in beige next time?

Wednesday, October 3, 2012

Illustrations with COLOR


As I sat waiting for my car to be inspected and then fixed of its decaying belt and get new windshield wipers, I drew this little blue bird.  He loves Walt Whitman's poetry but is very distracted by sweets and caffeine. I made this card into a card that you can buy on etsy. It is perhaps my new favorite illustration, although the baby fox gives it a run for its money.

jhgkjhkj

Baby fox came from...well his mother. I drew a foxy lady sipping on some champagne but I wasn't satisfied with it. However I did enjoy her small pup sitting off to the side and felt it should be made larger. So I did make it larger. Perhaps around mother's day I'll reintroduce the Foxy Momma, but until then you will have to be satisfied with the wee pup above (in card form).  

Sunday, September 30, 2012

Skunks in Love and a Caffeinated Hedgehog

I've been doing some illustrations lately. I've actually really been enjoying it....well other than the whole editing thing that takes forever. I thought if I drew with just black it'd be easy to edit, but I was wrong. 

These both are now made into cards and will be up on my etsy shop. Of course they won't have the red lettering on them. Currently they are blank cards, but if a customer had some thoughts on a good snippet to put inside, it can be arranged. 

I've been feeling the on-coming season change and am willing it to be here even sooner with my inspiring drawings.

Thursday, September 27, 2012

DIY Envelope and Cards

I've made a few doodles lately that I have made with the intent of making cards out of them.  AND I actually have.  Here is one doodle and three options of text (thanks to my friends on facebook who liked my facebook page)

 I hope it was otter this world.


 I am otterly astonished!


 ...I miss floating around with you.

I have been printing two to a page of 8.5x11" paper. With my new printer I can actually print things that have no border which makes figuring out image sizes a lot easier.

However I still needed envelopes. I checked online to see what size would best fit and found that the size is actually an A2 envelope. It is sized just large enough for half a piece of paper folded in half.

I checked prices and even looked for a template but the ones I found were not large enough, or I had to pay/sign up for something to get them (blech!). So I took it upon myself to make my own template that I could print out and cut out myself. It is 8.5x11" so if your printer prints without a border just print away.  However you may need to do some math to crop it properly and print if you can't print without borders.

Download Template

Just cut to the inside of the black lines and fold along the dotted lines. Glue the larger tab to the small side tabs only up to where the long angles begin, then once your card is in, fold the top tab down. Notice there is no dotted line by the top tab, that is so that you don't have an ugly black line visible when it is opened.

This is the up-side-down view of the envelope template....I am too lazy to change it on the computer since it doesn't matter when you print it! I know it is nothing fancy and you can make one just as nice, but it's already scanned in and ready for printing for whoever doesn't want to waste the time to make their own. ENJOY!

And if you would like already made cards visit my etsy shop!

Thursday, September 20, 2012

Horsing Around


I was given some amazing gifts from my parents for my birthday this past month. Pretty much anything of value that we own comes from one of the sets of parents. Mine gave me a fantastic printer, and my in-laws got me a matching scanner (that can even scan film!! so freakin' sweet)

I was also commissioned in the past month to do a horse painting for a friend. The original is the green/teal one below, but thanks to the use of my nifty scanner and photoshop skills I can now do prints of all different hues!


The original above, a photoshopped version below. So now if anyone desires a horse of any color, I can provide prints.  


Wednesday, July 18, 2012

More Characters


Meet Maribelle (left) and Willow!


Willow is your more modern hippie. She runs her own shop online and sells headbands and jewelry that usually include natural items like feathers or leather....yes she weeps for the cow, but believes it's better to honor their hide with continued use than to throw it away.  She enjoys drum circles and dancing.  She is very much into folk music and that which is inspired by it. 


Maribelle is a classic. She is the epitome of a flower child and spends much of her day gardening (when she is not at the local animal shelter). She cans her own tomatoes and is learning traditional Japanese methods of natural fabric dying. What you wouldn't have guessed is she loves science fiction. 


Prince Xavier is the best friend of Esmera. Although he is royalty he rather likes 'slumming it' with the local merfolk. He thinks it fun to mess with the sharks, tickling them with his trident and challenging them to a fin-race (no foot-races in his part of the world).  He's a good mer-boy and has far too much fun in the depths to desire life on land.


Dwight Schrute lives on Schrute farms which reaps a bountiful amount of beets. (This is fan art of The Office, do excuse the un-original character) Of course there is a lot of borsch cooked on the premises. Beet farming is no joke to Dwight and he fancies himself the best beet farmer to ever live. 

Saturday, June 16, 2012

Couples Portraits!


 I haven't been able to post these because for one, I had to wait for the save the date to be sent out, and the picture below was meant to be an anniversary present for the middle of this month, but oops, someone got too excited and gave their gift early! 


This is actually cropped from the original. this is about a 3rd of the painting, the rest was my attempt at a South African landscape, luckily I had their pictures to construct it from.

The above picture was my first couples portrait commission from etsy yay! It was a birthday gift for the young lady, so yet again I had to wait to post it on the VERY slim chance that she might see it.

I've been having a lot of fun doing the portraits, even though they are rather time consuming for what I charge. Still I hope I keep getting people who want them. Get yours quick because the price will only go up, heh heh heh, (Stephen told me to up it 5 dollars every time I sell one).

Thursday, June 14, 2012

Characters: My Watercolor Children


 I don't know how I didn't start this earlier, but I am now doing a lot of characters. One of my friends, Ndeme, said I should make a profile for each of them so here it goes.

"Aloha, My name is Sachiko Nakama. My parents moved to Hawaii before I was born, so I am American even if my name is Japanese. They did try to teach me all the kanji and writing, but I like time in the garden practicing making my own kind of banzai trees better. Kawaii usagii, ne! (cute bunny, huh! for those of you who aren't bi-lingual)."


"Hi! My name is Angelic Ferraro, and yes I know my last name sounds Italian. Actually a long time ago my great-great Grandpa who came from Italy married my great-great Grandma who was from Haiti.  But who cares about silly history, wanna see my birdie?!  I don't like cages, but my lil' bird seems to think it's home so I keep it anyway. He can fly away if he wants, but he loves me so he doesn't."


"Hiya. I'm Peter Bittinger. I really hate this costume, but my mom thinks it's "soooo cute!" The only good part about it is my parents let me go fishing when I wear it. I love fishing. I love the hooks, and the bobbers,  and the cool lures! My Dad is really good at fishing, he once caught a fish the size of my head! I feel real hot right now."


"Anyeong! My name is Simeon Ha. I am from Korea, but my father moved here for his job. He helps me with my robot. We built him and like to take him to competitions. He is a winner and his name is Chamchi. It means tuna and that is my favorite food, but it has to be mixed with rice and kimchi to be my very favorite. I know it sounds strange but it is delicious! One day I want to make robot cars that take us everywhere and do our laundry for us when we aren't inside them and run on sunshine and rain."

Saturday, May 5, 2012

Flowers and More Flowers: Paintings

Well I have been at it again. I didn't really know (because I don't usually paint flowers), but I REALLY like painting them. I feel so satisfied when it looks pretty at the end and flowers are almost always pretty.
 

The Lily of the Valley is actually the flower of May, so Happy May!


My Mother wanted a painting with a blue bird in it. I found I am much more comfortable with painting sitting birds, flying is much more complicated. Irises are one of my favorite flowers, so sticking with the trend of painting my favorites I threw them in with the blue bird.


 I enjoyed the irises so much I did a small one too.  It's funny, I painted the shapes of the petals and didn't worry too much about making them look rounded or getting the shadows right, and although my irises don't look particularly like the pictures they were done from, they do look like irises. I think irises are just such a bizarre flower and shaped so differently that you don't really have to be super perfect to portray them.

I did a fourth painting but it is a gift so I don't want to spoil the surprise in the off chance that they check my blog.

Till I have more to blog, tata!

P.S. Check out my Etsy shop I'll be posting some of my latest paintings so if you love them you can buy them! 

Saturday, April 28, 2012

Inspired Spring Paintings: Layered Painting

So I found this artist on Etsy named Julie Fillo, if you click on her name you will see the image that inspired me. I really loved her painting, and I didn't know if it was the flowers or the birds, colors or the style, but I knew I wanted something in my house with more muted soft colors so I thought I would make a painting.

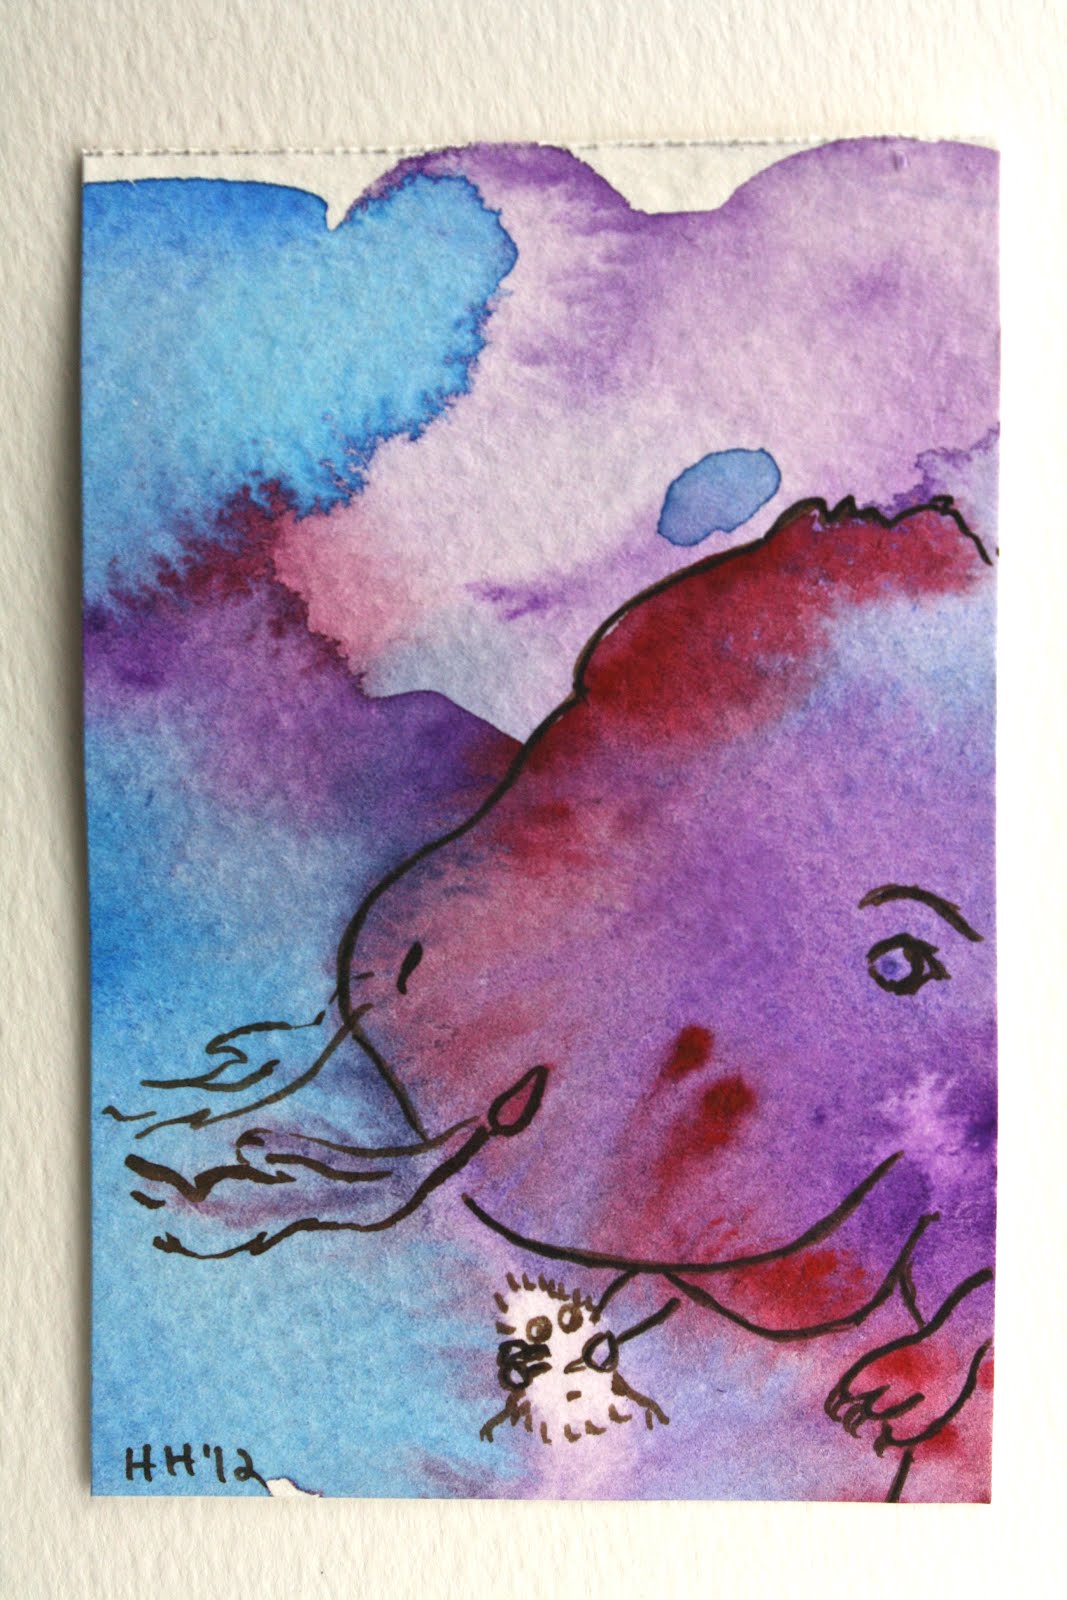
So when I looked at the painting again, after a failed attempt to make something 'pretty' I realized what made the painting different. Everything in it was outlined with a red color and she didn't go in and outline it. I realized she most likely painted the whole painting a solid color and then went in and laid down her flowers/birds, THEN she went back in with a new background color, carefully going around all the flowers and birds and letting the red peep through around the edges.


 I tried it and it worked! At first I kinda hated the above bird, image, but after adding the nice pastel green, the outline really made the simple painting pop. 


The above images should give you a little more of an idea of what I did, if my written description didn't. I actually loved this painting with the navy blue background, so I took a lot of pictures in case I botched it up. Still, I think I love it even more with two colors (although I'm sure my Mom prefers the all blue). Part of the reason I was hesitant with this second one was that the original painting took so much longer! Where the first painting took about 3 hours total, this one took closer to 10 total.


If you were to try this yourself you need to remember that you are not painting the lines, you are painting a little in reverse. This actually often makes for cleaner lines and thinner. I still messed up a number of times, accidentally painting over my dark lines with white/light blue (or even the salmon later), but I kept some navy close at hand so that I could quickly with my smallest brush go back over any mistake. 


I definitely felt more at ease with the second one and more free to experiment more with this technique. Although it is extremely time consuming I think the effect is beautiful! It's also rather fun to paint in reverse and a bit challenging to the normal process of thinking when painting.

Both paintings are 11x14 inches, painted with acrylics on canvas board.

Thursday, March 22, 2012

DIY: Jewelry Display

Please excuse my flash photography.....my camera had a bit of a freak out and doesn't like working normally now.

Anyway, I made this from a scrap of 1x4" wood and some bits and pieces. I used picture hanging loops on the back to hang it, but one could also just put to nails in the ends and hang it from a ribbon. I put the two metal loops because I felt it would be stronger, particularly since the stud in the wall wasn't in the right place for one nail to hold it up.


I spray painted the wood with a white primer because I didn't want to waste my purple spray paint. Then I coated it twice, I believe, with the purple spray paint.
Next, I put nails in various spots across the board.

After the nails, I decided it was too boring being just violet, so I got some acrylic paint and attempted to use masking tape as a mask and went to paint some rectangles/stripes. Well I hated it. So I painted it violet AGAIN. (THIS is the point of the tutorial where you learn from my mistakes and wait till AFTER completely decorating your piece of wood to put your nails in, unless you want them to be the color of your spray paint of course)

Funny thing though, there were all these feathers in the yard and I was having fun on paper using them with spray paint to make a feather shape. It was a little tricky because sometimes the feathers would fly off in the wind of the spray paint, but I realized this could be nice design on my jewelry holder.

SO, I got some feathers and took out some gold spray paint. I made sure the feathers were down and no wind was blowing, then sprayed starting at the tip of the feather down to the bottom. I think it turned out alright.
It was super easy and I suppose you could use all kinds of shapes or things to make the same effect.

Friday, March 16, 2012

Watercolor ACEOs: Monsters and Things

There is not much to say about these. I did a watercolor test strip and then cut it up and added characters that I saw in it. I had fun though and I believe I have already sold 3 of these.
This one is not sold yet.
Or this one.


Sketches: Hunger Games Inspired.....Kinda

So I started drawing this girl-bear and then I thought, hey! It's Katniss E-Bear-Deen!
(I drew all of these on the backside of photo-paper that was stained with coffee. I thought it gave it a nice look, and the pen flows so smoothly on the paper!)

AND you can't have a Katniss E-Bear-Deen without a Peeta Rabbit!

This underground really has nothing to do with Hunger Games, except that all these things would be eaten in District 12 in one of Greasy Sal's soups.

I think seahorses are fantastic. They just don't seem to fit in, I mean are they fish or what?

Of course, I am still making more dragons. You just can't get enough. I mean they are flying dinosaurs!


I put these up for sale in my shop on etsy for about 5 dollars each. Along with these I put up a number of watercolor ACEOs (Artist Cards Editions Originals), and you can see those in my next post!