Pages

Tuesday, January 31, 2012

Many Mini-Paintings

I have been doing a lot of small paintings lately. I wanted to do some fun quick work that perhaps would be affordable and get some more people checking out my etsy.

I have actually put my favorites first.....well at least the first two.
I realize that I find horns fascinating. I mean the Lord put beautiful sculptures that grow out of animals heads that serve real purposes too.

I have had an ongoing doodle habit of adding little tiny people shapes to drawings I've done; I felt the deer was an appropriate place for small people to ride.

I must admit, I do not like how a varnished painting photographs.... anyone know how to not have a sheen? Anyhoo, I did the dragon in honor of my 2nd grad students who are painting their own Chinese New Years Dragons. I am truly excited to see the outcome of my students work.

This circus scene is from an in class drawing I had a Korean class do; I would tell them something to draw like, 'Draw a ball.....draw an elephant on the ball....etc.' I rather enjoyed my original and made it a bit more sturdy in paint.

A lot of birds....I wanted to do some cartoon type feathered friends. I think they are rather fun.
(again, hate the sheen from the gloss finish, it really does look better in person)

An Ode to the Beginning of Love.

Another run with oil paint sticks. It was fun, but I must say the paint sticks are much better on canvases larger than 5x7 inches.

Sakura Meets a Giant Friend: This is actually one of my favorites that I have done so far. I just think they are great characters. This idea again came from an old drawing I did alongside my korean students.

I am experimenting with oil paint on tiny canvases, but so far I neither have the patience nor the tiny brushes necessary for such a thing..... i.e. it doesn't seem worth my time.

I feel I did salvage this little fellow. I enjoyed scratching off some paint to create more texture, but I still think I enjoy painting larger more.

Monday, January 16, 2012

Pixelated Animals and Other such Creatures

I must admit, I was looking at a gallery when I saw some art by a young contemporary who was using small squares of color to make up the faces of his subjects and backgrounds. His name is Nathan Durfee (If you follow the link go to artists, and then Nathan Durfee) I know this wasn't the first person to do this, there was Seurat after all. This is just an experiment in pointillism. It's really a lazy version. However, mine is more like a lazy version of a lazy version. Nathan Durfee's work is fantastic. It got me thinking that I needed to paint again and experiment more. So I went home, found my paints and made the Giraffe in the Grass eating a sandwich. I didn't put it up before because I have issues with the shadow under the tree, but alas, I have moved on.

I have been feeling lazy lately, spending more time on the computer than I like to admit and not wanting to do anything, but still at some point God gives me a little push and I get on an art run. THAT is just what happened the other day. I got out two canvases that I had primed to cover previous art......not mine.....I got them at goodwill and thought, OH a dollar for a canvas?! Yes thanks.
So I had painted over them but never laid any images on top. That is when I found/pulled out some very OLD paint sticks I had gotten at a garage sale in a box of art supplies. I have never used paint sticks, maybe because they are very expensive, or I had no knowledge of them; whatever the reason I knifed off the dry layer and drew a flying squirrel. And might I add, I love paint sticks. They are like oil pastels, but better.

After the Squirrel I wanted to do some polar bears and found a fantastic picture online of two bears; they were probably about to brawl but I thought it looked a lot like they were laughing together so that is how I drew them. I actually really enjoyed the effect of the dark background showing through the paint stick. I felt it gave the bears a more rustic furry feel. Stephen actually thinks the bears are his new favorite of my work......funny they took so little time.

Finally I have been wanting to continue experimenting with my box-pointillism. So I did another hill scene, this time with a contemplative hippo. I wanted the hills to be more of a wintery hill, not so lush and green. I also debate between if I want to add more lines to show more distinctly that it is a hippo or if this is when I need to let others try and see what I've done.....still people really struggled seeing my giraffe. Maybe that's part of the fun.... I do enjoy when I can't really see a picture till the title tells me what it is, it's like a little visual trick of the mind.

Tuesday, January 10, 2012

Kat and Paul in Wonderland

I was in a wedding in September and the bride had bought my bridesmaid's dress for me while I was in Korea. When I got home she informed me that rather than paying her back (since I kept forgetting to bring a check/money for her) that I should just paint them a picture. Well IF I have the option to make a payment for something in paintings, consider it done.

WELL, they had had an Alice in Wonderland themed wedding and I thought, "How fun would it be to do my own take on it!?" So I did. I think I could have gotten even more wild had I been making a series, but I rarely make it to doing a series so the two will have to do.

I used two smaller canvases and lined them up on separate easels so that they would at least mostly line up. I wanted them to go together but not be mirror images. I picked my light source vaguely to the right and did some sketches. I wanted the feeling of the cluttered Mad Hatter tea party and threw in a cheshire cat and some teat-totting mice.

I feel I took more liberties with Paul. He doesn't really have a mustache or drink with his pinky out.
I go back and forth between if I like the colors I settled on, or if there is too much pink, or too many varying paint stokes. Still for my first imagined caricature painting, I don't think it's so bad. It was actually a lot of fun. However the funny thing about a more stylized cartoonie style, for me, is that I almost obsess over clean lines. This is a problem, because I struggle in oils to get clean lines in one try, or even two. Still I reached a point where I was satisfied with it enough, mostly knowing it would not be on my wall to be criticized daily by mwah.

I actually completed these and sent them home with my parents a while back, but I wanted to share a little more what I've been up to lately.


Monday, January 9, 2012

Watercoloring Cute Critters

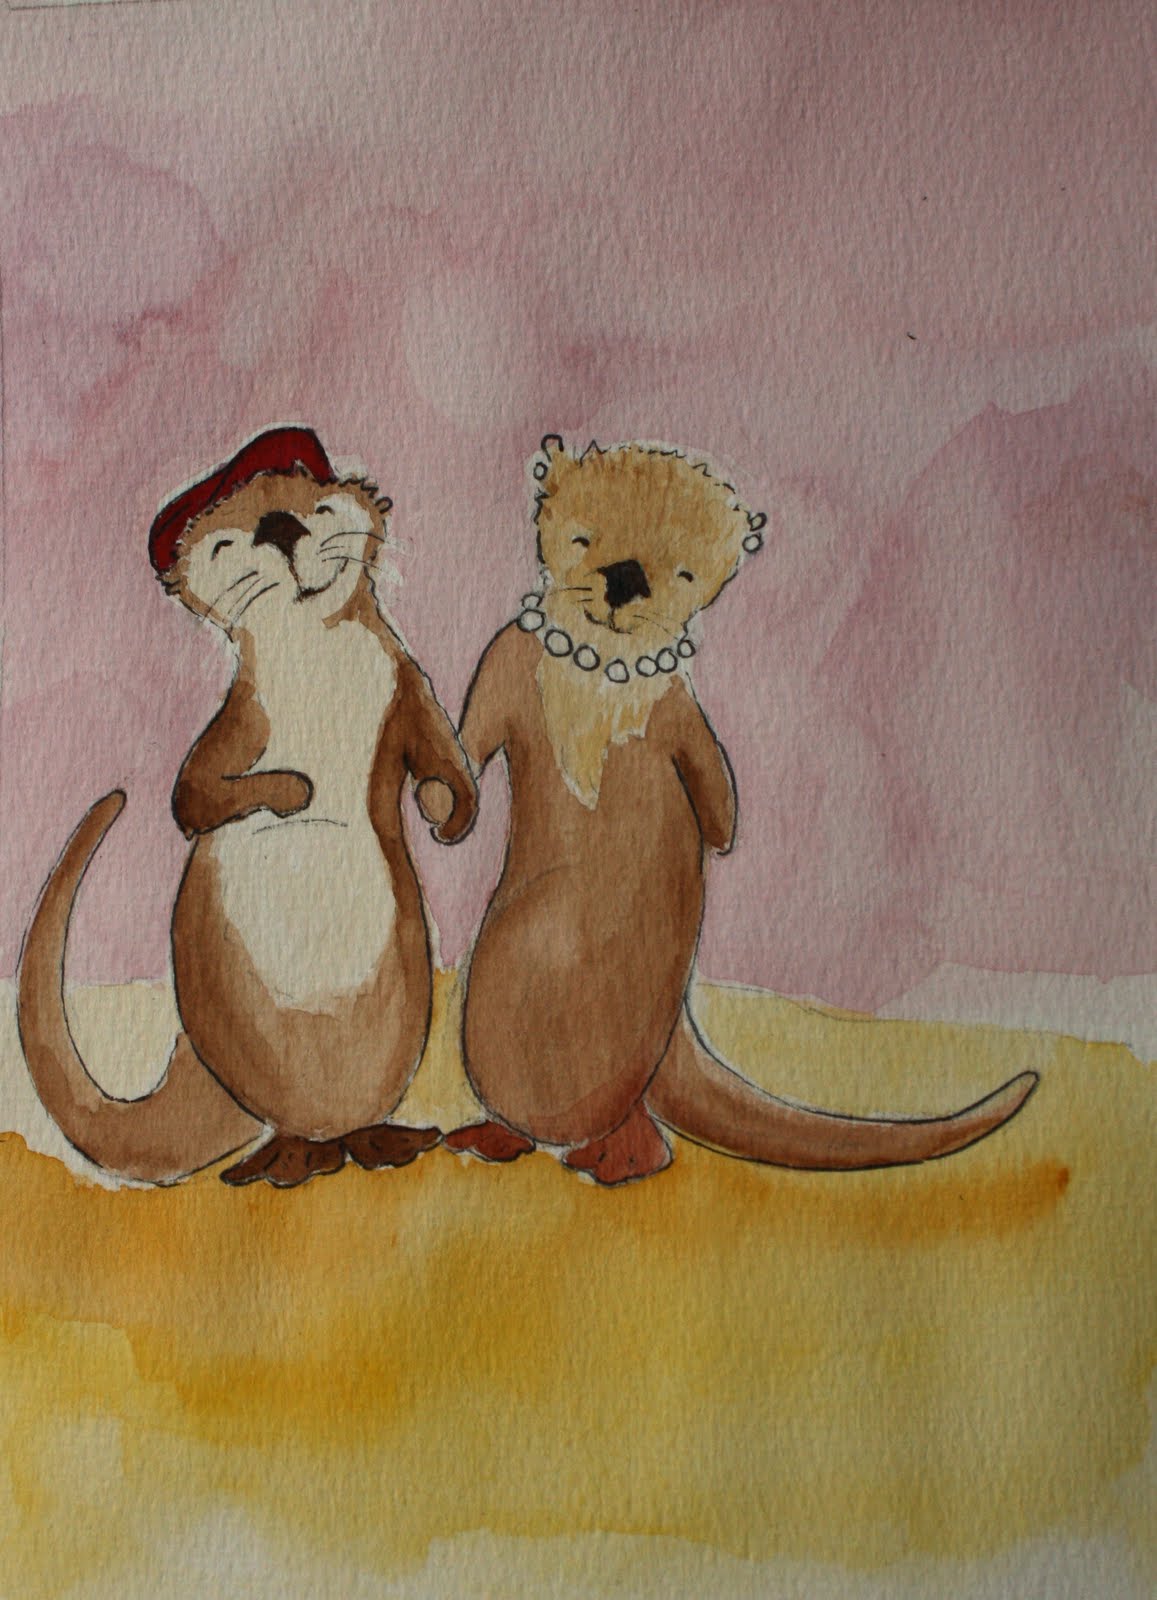
This is "The Rare River Otter"

I started out with sketches and added color layer by layer.

The Rare River Otter is my favorite. Particularly his sweater. It took a while to do the stitching, but it was worth it!

My table when it is taken over by art stuffs..... actually this is a pretty clean day.

"Sealed with a Kiss"

"Polar Bear Stops to Smell the Flowers"

"Can You Bear to be Mine?"

"My Otter Half"

"He was not like the Otters" he twas, "afraid of teh water."


I finally sat down and did some art. It did take a while to paint today. My original thought was to do very simplified painting, but of course I can never do as little as I hope to do. I really did enjoy today though. I always feel very productive after completing artwork; even more so once it is on etsy.com. I have been blessed lately with my shop dwindling down a little and I really wanted to update. Luckily I got inspired, a little aquarium animal, a little valentines, and a little polar bear project at school and tah-dah! Fun and Whimsical Critters for all.

Saturday, January 7, 2012

My Circus Commission


I was a little disappointed with Etsy for how slow business was when I got a message from a 24 year old news reporter in Brooklyn who moonlights as a trapeze instructor. She liked one of my paintings. It was actually one I really enjoyed painting; I had turned a still life into a circus and felt it was pretty successful. However she had some qualms about the colors, as they did not go so much with her decor, AND the size. She was looking for a 4ft by 3ft painting to fill a large space on her wall and the original painting was only 24"x18". Well I was pretty excited to get a commission and after we discusses the business things I got to work.
Oil painting takes a long time. Particularly in a tiny apartment with little air flow and no heat (at least not at first).

I started by laying out the lines and experimenting with color. She wanted more red, but no Christmas theme or to look too childish like many circus paintings are.

We both felt the red was too dominant in the stripes so I was inspired to make the figures red and mute down the stripes to a more beige-y-pink.

I was very pleased with the final result although I always find things I want to change or paint over or fix. I get to a point when I know I will never be able to finish because there will always be more to fix and that is when I decide I am finished.
So after a verrry long drying period, due to thick paint, I finally was able to package it up and send it off.

WARNING: For anyone who will ship a large painting, 48" is OVERSIZED and thus over a hundred dollars to ship, even if it's only to New York. Yes it is extortion. My painting all boxed up was only slightly over 7 pounds.

This experience has been fun and I am very open to doing more commissions. Sometimes I just can't get inspired and someone who knows what they want with the flexibility to let me paint in my own style with their inspiration....well that is just a wonderful situation.

Monday, December 26, 2011

The Dunny Shelves

LEARN FROM MY MISTAKES

1. I did a botched up job of spray painting, my first mistake being that I didn't tape off the places I didn't want painted very well, and second I did not strip or sand the wood before spray painting. What happened because of this is that the spray paint pooled in certain places because of whatever kind of finish was on the wood. I re-sprayed about 4 times and finally came to the conclusion that it would never cover evenly.

2. HOWEVER bad my spray painting went, my next intuition was correct. I took acrylic paint and covered the places the spray paint had trouble covering. When I went to an hardware store they said that is fine since they are both water-based paints.

3. After touching up with the white acrylic paint I mixed my own purple acrylic paint since I knew the purple spray paint was not the answer. It requires a steady hand and patience to paint a piece like this because the detail I wanted to remain white. I messed up a lot, but went back with a tiny brush to cover the purple with white again. This can potentially be an endless process, but at some point you need to just decide it's good enough.

NOTE: if you want detail, but it is not built into your piece, you could consider painting the detail in. I suggest a darker color on a lighter color simply because you hopefully would only have to do one coat.

So for future reference: SPRAY PAINTING DOES NOT COVER ALL THINGS. You may need to prime or sand a piece a lot before painting. For detailed pieces, in the end, it may be easier to just do it by hand.

Saturday, December 10, 2011

My Make-do Christmas Tree

Stephen and I do not have room for a Christmas tree in our house. Okay, well maybe a small charlie brown one, but when you are trying to save money as newly weds a tree is not the top of the list of things to buy. (especially when I'll want lights and accessories too)

However, I wanted some kind of Christmas decor. So I decided to make my own. I had a lot of ideas, like hanging ornaments I'd made from the wall at varying heights to make the triangle shape, or taping lots of things to the wall, but all my ideas had a damage problem- they would potentially damage our rented space with either lots of holes or a loss of paint. That's when I realized I have a roll of canvas and paint. I had thought of painting one of my already made canvases but none of them were big enough and in the future I'd be tempted to paint over it.

How I did it: So far....

1. I cut a large chunk of canvas, about 3x4 feet- give or take some inches. Then I labored to sew the edges under. If trying this at home, I suggest not sewing with a machine, or not using primed canvas. I had so much trouble and it was so heavy and not malleable. It even threw my sewing machine out of tension because it's weight pulled to much to one side or another, and it left wrinkles in the canvas from handling it too much.

ANYWAY- You can always use regular fabric or paper.


2. I sewed a deep seam at the top so that I could stick and old curtain rod through it.

3. I made a hanging element with ribbon. To get the ribbon through the curtain rod, I tied a safety pin to thread dropped it through, attached the safety pin to the ribbon then pulled it back through. HOWEVER if you use a dowel rod for this you can always just tie ribbon to the ends.

4. I hand sewed the shape of the tree with friendship bracelet thread (string? yarn?).

NOTE: Don't do What I did, PAINT FIRST before adding decorations to the tree.

5. I stupidly sewed the turning points of the plaid ribbon. I had the idea that it would look nice if it could move around. In the end I used hot glue to glue them in place after painting around/under them. (I also originally was not sure if I would paint it so I just wanted to decorate right away)

6. PAINT: I painted the tree with acrylic paints using only blue, yellow and white. I added different amounts together to make different shades of green- more blue for darker, more yellow for brighter, and more white to tone it down or make paler.
For the trunk I just made one shade of brown.

TO MAKE THE HEARTS: for some people this is a no brainer, for others maybe you just don't think this way, but paint a CLEAN border of the heart first and then fill it in. Often you have to go back over the edges to get rid of white spots from where the paint didn't fill in all the divets in the canvas. I painted mostly large hearts first, changing shades all the while, and then when I had mostly covered the shape I went back in with a smaller brush and made smaller hearts in any larger white gaps. IT may be easier to think of hearts as triangles in how you fit them together.

7. The star is hand stitched with felt. It took a long time. I stitched as I watched television, but if you want something easier, just use glue....I mean no one can really see the detail anyway.
I plan to add more, but I am waiting for a bit more inspiration. I have a lot of bows I have made from felt, but I'm not sure it's quite right. I'll experiment and get back to it. Hope you enjoyed this!